Here is a summary of commands to install the monitoring agent on a GCE instance.
curl -sSO https://dl.google.com/cloudagents/add-monitoring-agent-repo.sh
bash add-monitoring-agent-repo.sh
apt-get update
sudo apt-cache madison stackdriver-agent
The previous command will show you which version of the agent is available. In our example 6.1.1-1 was the latest and was chosen in the next line:
sudo apt-get install -y 'stackdriver-agent=6.1.1-1.*'
Start the agent and observe the log file. Note the cute command that checks both syslog OR messages and the Linux Community have made it extra hard to figure out which is your actual log file.
service stackdriver-agent start
service stackdriver-agent status
grep collectd /var/log/{syslog,messages} | tail
On our system we had errors, and one needed to look carefully to find them, and they were embedded. But we’ve fished them out for you, and this is what is said:
ns3 collectd[2924]: write_gcm: Unsuccessful HTTP request 403: {#012 "error": {#012 "code": 403,#012 "message": "Cloud Monitoring API has not been used in project 577266635915 before or it is disabled. Enable it by visiting https://console.developers.google.com/apis/api/monitoring.googleapis.com/overview?project=your_project_number_goes_here then retry. If you enabled this API recently, wait a few minutes for the action to propagate to our systems and retry.",#012 "status": "PERMISSION_DENIED"
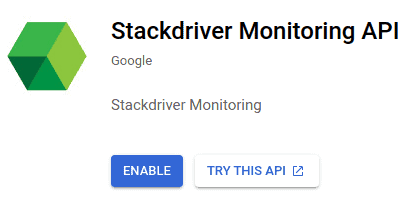
To summarize, the log file say visit that special projek link to enable the driver. The screen you’ll find when you copy / paste the it quite beautifully designed and minimalist, and looks like this:

Press the blue button thats says “ENABLE”
Once you’ve done, that, execute the following commands to see if it worked:
service stackdriver-agent restart
grep collectd /var/log/{syslog,messages} | tail
Supplemental Note
From the manual:
- A minimum of 250 MiB of resident (RSS*) memory is recommended to run the Monitoring agent.
*Googlespeak
Reference
https://cloud.google.com/monitoring/agent/installation